KSPO:1669-09(SAC)
cresta TE688NL & TS22X MANUAL(ENG)
SIZE:W65 X H105(mm)
BY Lai HZ 25/2/10
WX688
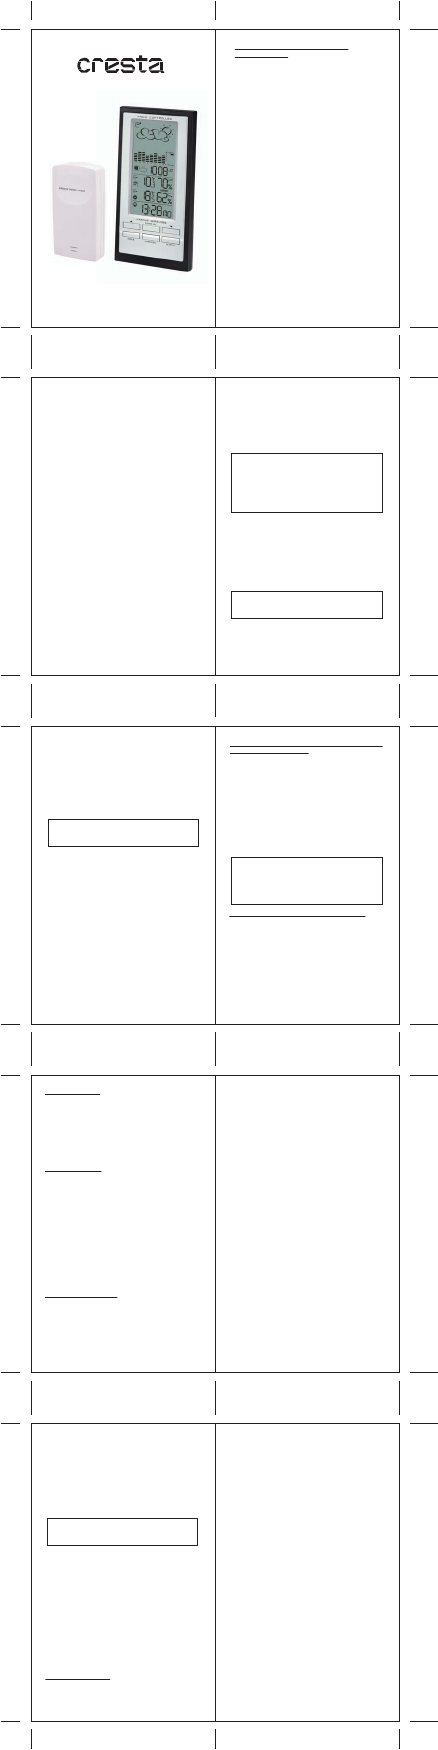
1 WEATHER STATION OPERATING
INSTRUCTIONS
Please read these operating instructions carefully
before using the device to familiarise yourself with its
features and functions.
1.1 AREA OF APPLICATION
This station has been exclusively designed for use as a
weather station. Besides providing information about
room climate, weather stations can also be used to
forecast local weather conditions and to supply
information about external temperature, external
humidity and frost (for drivers, farmers, etc.). This
weather station can be used in the customer's domain
within the specified tolerances. The station should
NOT be used for commercial or professional weather
forecasts. Any use other than that described in these
operating instructions is not permitted and can result in
damage and injury. No liability will be accepted for
claims arising from improper use.
1.2 SAFETY AND MAINTENANCE
Safety instructions
Please pay particular attention to this section and
follow all of the instructions provided. This will ensure
reliable operation and enable you to use your weather
station for a long time. Keep the packaging and
operating instructions in a safe place so that they can
be transferred to the new owner if you decide to sell the
weather station. Never open the housing for the base
station or external sensor, as these do not contain any
parts that require maintenance (the exception to this
rule is opening the battery compartments to insert or
change the batteries). Do not place any items on top of
the base station or the external sensor and do not exert
any pressure on the display. This could cause the
display to break. In order to prevent damage do not
touch the display with any sharp-edged objects.
Operating environment conditions
The base station is not protected against splash water.
Make sure your base station is not exposed to moisture
or continually high levels of humidity and avoid dust,
heat and prolonged periods of direct sunlight. To ensure
optimum radio registration please position or hang the
base station on a sturdy, non-metallic surface. The
external sensor is protected against splash water. When
using outdoors please select a location where the
external sensor is not exposed to direct rain or sunlight.
Ignoring this information may result in malfunctions or
damage to the weather station and the external sensor.
Electromagnetic compatibility
If possible, do not place the base station or the external
sensor in close proximity to computers, printers,
television sets, mobile telephones or radios, because
devices with strong EMC radiation and other radio
stations can prevent or interfere with radio reception.
Batteries (supplied)
Your base station and the external sensor are each
operated by 2 x 1.5V AA batteries. The following
section provides you with information about using
batteries:
Always replace batteries with batteries of the same
type. Batteries should not be charged or re-activated by
any other means and they should not be disassembled,
discarded in a fire or short-circuited. Always keep
batteries out of the reach of children. Batteries can be
fatal if swallowed. Therefore keep batteries and the
weather station out of the reach of small children. Seek
medical assistance immediately if a battery is
swallowed. Batteries cannot withstand heat. Prevent the
base station and the external sensor (and therefore the
inserted batteries) from becoming too hot. Ignoring this
information may result in damage and possibly even to
the batteries exploding. Temperatures below 0°C can
have an adverse effect on battery life.
NOTE:
Please position the external sensor in such a way
that it is not exposed to extreme heat or cold. In
extremely cold conditions the batteries, and
therefore the transmission signal, will be adversely
affected. We recommend you operate the weather
station with ordinary batteries as opposed to
rechargeable batteries.
1.3 COMMISSIONING
We recommend that you read these operating
instructions thoroughly before starting to use the
weather station. Conduct the commissioning procedure
on a table where the base station and the external
sensor can be positioned or set up next to each other. In
order to be able to operate the weather station, please
remove the protective film from the base station
display.
NOTE:
Keep this protective film away from babies and
young children as it is a suffocation hazard!
Remove the battery compartment cover located at the
rear of the base station. Also remove the battery
compartment cover located at the rear of the external
sensor. Please unscrew this cover using a small
screwdriver.
Please make sure that the batteries are always
inserted into the external sensor first and then into
the base station, otherwise the base station may not
receive the signal from the external sensor.
Now select your desired channel by using the slider in
the external sensor's battery compartment and then
insert the 2 x 1.5V AA batteries into the compartment
(observe the correct polarity +/-). Then insert 2 x 1.5 V
AA batteries into the battery compartment of the base
station (observe the correct polarity +/-).
NOTE:
Please make sure that the batteries are new and of
the correct size.
1.3.1 EXTERNAL SENSOR
After inserting the batteries the external sensor starts to
transfer the measured temperature and humidity
readings.
In order to ensure the signal is transmitted properly the
base station and the external sensor should be
positioned a maximum of 30 metres apart. The range
of coverage is restricted by brickwork, reinforced
concrete, metal windows and fog. Overlapping radio
waves can also impair reception. The external sensor
measures and transmits the temperature at 40 second
intervals. You can now screw the battery compartment
cover back onto the external sensor.
1.3.2 BASE STATION
Shortly after inserting the batteries the internal
temperature is displayed and the base station starts to
search for the external sensor for a period of 2 minutes,
which is indicated by flashing semi-circles above the
CH symbol. If this search has been successful, the semi
-circles stop flashing and illuminate continuously and
the external temperature and humidity reading are then
displayed.
Setting the units of measurement and height above
sea level for your location:
hPa/mBar flashes to the right of the display at the
same level where the moon phase is indicated.
You can now use the arrow buttons in the battery
compartment of the base station to alternate between
two units of measurement for the atmospheric pressure
(hPa/mBar or inHg). Confirm your selection by
pressing the UNIT button briefly. Then meter starts to
flash. Use the arrow buttons again to select your
desired unit of measurement (meter or feet) and
confirm your selection by pressing the UNIT button.
The height above sea level subsequently starts to flash
at '10'. Now set the correct height above sea level for
your location and confirm your selection by pressing
the PRESSURE/ALTITUDE button.
NOTE:
To obtain a meaningful weather forecast you will
need to enter the correct height above sea level for
your location. When you have done this details of
the relative atmospheric pressure will also be
displayed.
Registering a second or third external sensor:
The base station is able to display up to three external
sensors.
If you want to register an additional sensor, select a
free channel in the battery compartment of the external
sensor. Then select this channel on the base station as
well by using the CHANNEL button. Now insert the
batteries into the external sensor and then press and
hold the down arrow button (sensor call button) for
approx. 3 seconds. The black bars start to flash
(indicating the sensor search function) and the values
of the new sensor will be displayed after approx. 2
minutes. You can now alternate between the display for
the two sensors by pressing the CHANNEL button.
Random function:
The weather station is also equipped with a so-called
RANDOM function. If this function is active the
station automatically switches between the registered
sensors on a continuous basis. To activate or deactivate
this feature simply press and hold the CHANNEL
button for around 3 seconds. When the function is
active a circular arrow is visible underneath the
channel display (CH) on your weather station. If this
arrow is not visible, the function is deactivated.
Sensor call button:
If '- -' appears in the display after this time instead of
the external temperature and humidity reading, then
press and hold the down arrow button on the front of
your weather station for approx. 3 seconds. The
semi-circles above the CH symbol will then start to
flash again and another attempt is made to locate the
signal from the external sensor for a period of 2
minutes.
If the search for the external sensor has been
successful, the station will now start to search for the
DCF77 signal in order to receive the radio-controlled
time. This can take 5 - 8 minutes and is indicated by a
flashing antenna symbol. If the radio signal has been
received successfully, the antenna symbol stops
flashing and illuminates continuously and the current
time, date and weekday are displayed.
Transmitter call button:
If it is not possible to receive the DCF77 signal at this
time (e.g. due to a location with poor reception), then
change to another location, if possible, and press and
hold the up arrow button on the front of your weather
station for approx. 3 seconds. The antenna symbol
starts to flash again and another attempt is made to
locate the time signal for approx. 5 - 8 minutes.
The commissioning procedure for your weather station
is now complete. You can now set up or hang the
external sensor at its intended location.
1.4 RADIO RECEPTION
As is the case with wireless signals for mobile
telephones or radio/TV reception, it is possible that
your weather station will not always receive a signal at
every location. Here are some tips to ensure your
station operates properly. The following factors can
cause malfunctions:
• Concrete buildings, metal components and electronic
equipment.
• Electronic devices such as TVs, computers, various
household appliances, transformers, power lines,
radio transmitters or electrified railway lines.
• Atmospheric effects can also interfere with radio
waves.
• The distance of the radio signal and the geographic
environment (mountains, etc.). So-called "dead
spots", which make reception impossible, can occur
anywhere.
• Reception is better in rural areas in comparison to
large cities. There are fewer sources of interference
at night compared to during the day. Therefore
reception is better at night.
• Weak batteries in the weather station will impair the
quality of reception.
• If it is not possible to receive a signal at your current
location, you can also set the time manually
(see section 1.7 "Manually setting the time, date,
language, temperature format (°C/°F) and time
format (12/24hr)").
1.5 ASSEMBLY
The base station can either be set up on its hinged stand
or mounted on a wall using the rear hanging mount.
The external sensor also has a rear hanging mount for
wall assembly.
1.6 DESCRIPTION OF FUNCTIONS
The weather station comes with 5 different display
modes in the time window:
Time with seconds display
Time with weekday display
Time zone with weekday display
Time zone with seconds display
Date display
To alternate between the display modes please press
the MODE button briefly.
NOTE:
To quickly increase or decrease a value simply
press and hold the up or down arrow button.
1.7 MANUALLY SETTING THE TIME, DATE,
LANGUAGE (GERMAN, ENGLISH,
SWEDISH, DUTCH, SPANISH, ITALIAN,
FRENCH), TEMPERATURE FORMAT (°C/°F)
AND TIME FORMAT (12/24HR).
If it is not possible to receive a signal at your current
location, you can also set the time and date manually.
To access this setting mode please press and hold the
MODE button for approx. 3 seconds while the time is
being displayed together with the seconds or the
weekday. You can now alter the respective values by
pressing the up and down arrow buttons. You can then
confirm these values and jump to the next value by
briefly pressing the MODE button. When you have
finished setting all of the values, press the MODE
button again to return to the time mode.
Setting the time zone:
To access the setting mode for the time zone please
press and hold the MODE button for approx. 3 seconds
while the time zone is being displayed together with
the seconds or the weekday. Select your desired time
zone using the up or down arrow button and confirm
your entry by pressing the MODE button again.
1.8 SETTING, ACTIVATING AND
DEACTIVATING THE THREE ALARM
TYPES
The base station is equipped with a weekday alarm
(recurring MON-FRI), a single alarm (non-recurring)
and a pre-alarm (only active if the external temperature
falls to +2°C or below +2°C). The pre-alarm can be set
in such a way that if the temperature drops to 2°C or
below 2°C it sounds 15, 30, 45, 60 or 90 minutes
before the set weekday alarm or single alarm. This
ensures you are awoken earlier than the set alarm time
in the event of poor weather conditions (primarily
during the winter when there is a risk of frost), thereby
making sure you have sufficient additional time to
prevent you from running late.
Press the ALARM button to alternate between the
weekday alarm (W), the single alarm (S) and the
pre-alarm (PRE_ALARM) and press the arrow buttons
to activate or to deactivate (OFF) the respective alarm.
The pre-alarm only functions in connection with the
weekday alarm or single alarm. To access the setting
mode for the alarm time press the ALARM button to
select the desired alarm (W, S or PRE-AL) and then
press and hold this button for approx. 3 seconds. The
hour display then starts to flash. Select the relevant
hour using the up or down arrow button and confirm
your entry by pressing the ALARM button. The minute
display now starts to flash. Select the relevant minutes
using the up or down arrow button again and confirm
your entry by pressing the ALARM button. The alarm
is now set and active. To activate the pre-alarm in
addition to a weekday alarm or single alarm simply
2
34
56
78
9 10


Diskutieren Sie über dieses Produkt mit
Hier können Sie uns Ihre Meinung zu Cresta WX688 Wetterstation mitteilen. Wenn Sie eine Frage haben, lesen Sie zunächst das Bedienungsanleitung sorgfältig durch. Die Anforderung eines Bedienungsanleitung kann über unser Kontaktformular erfolgen.