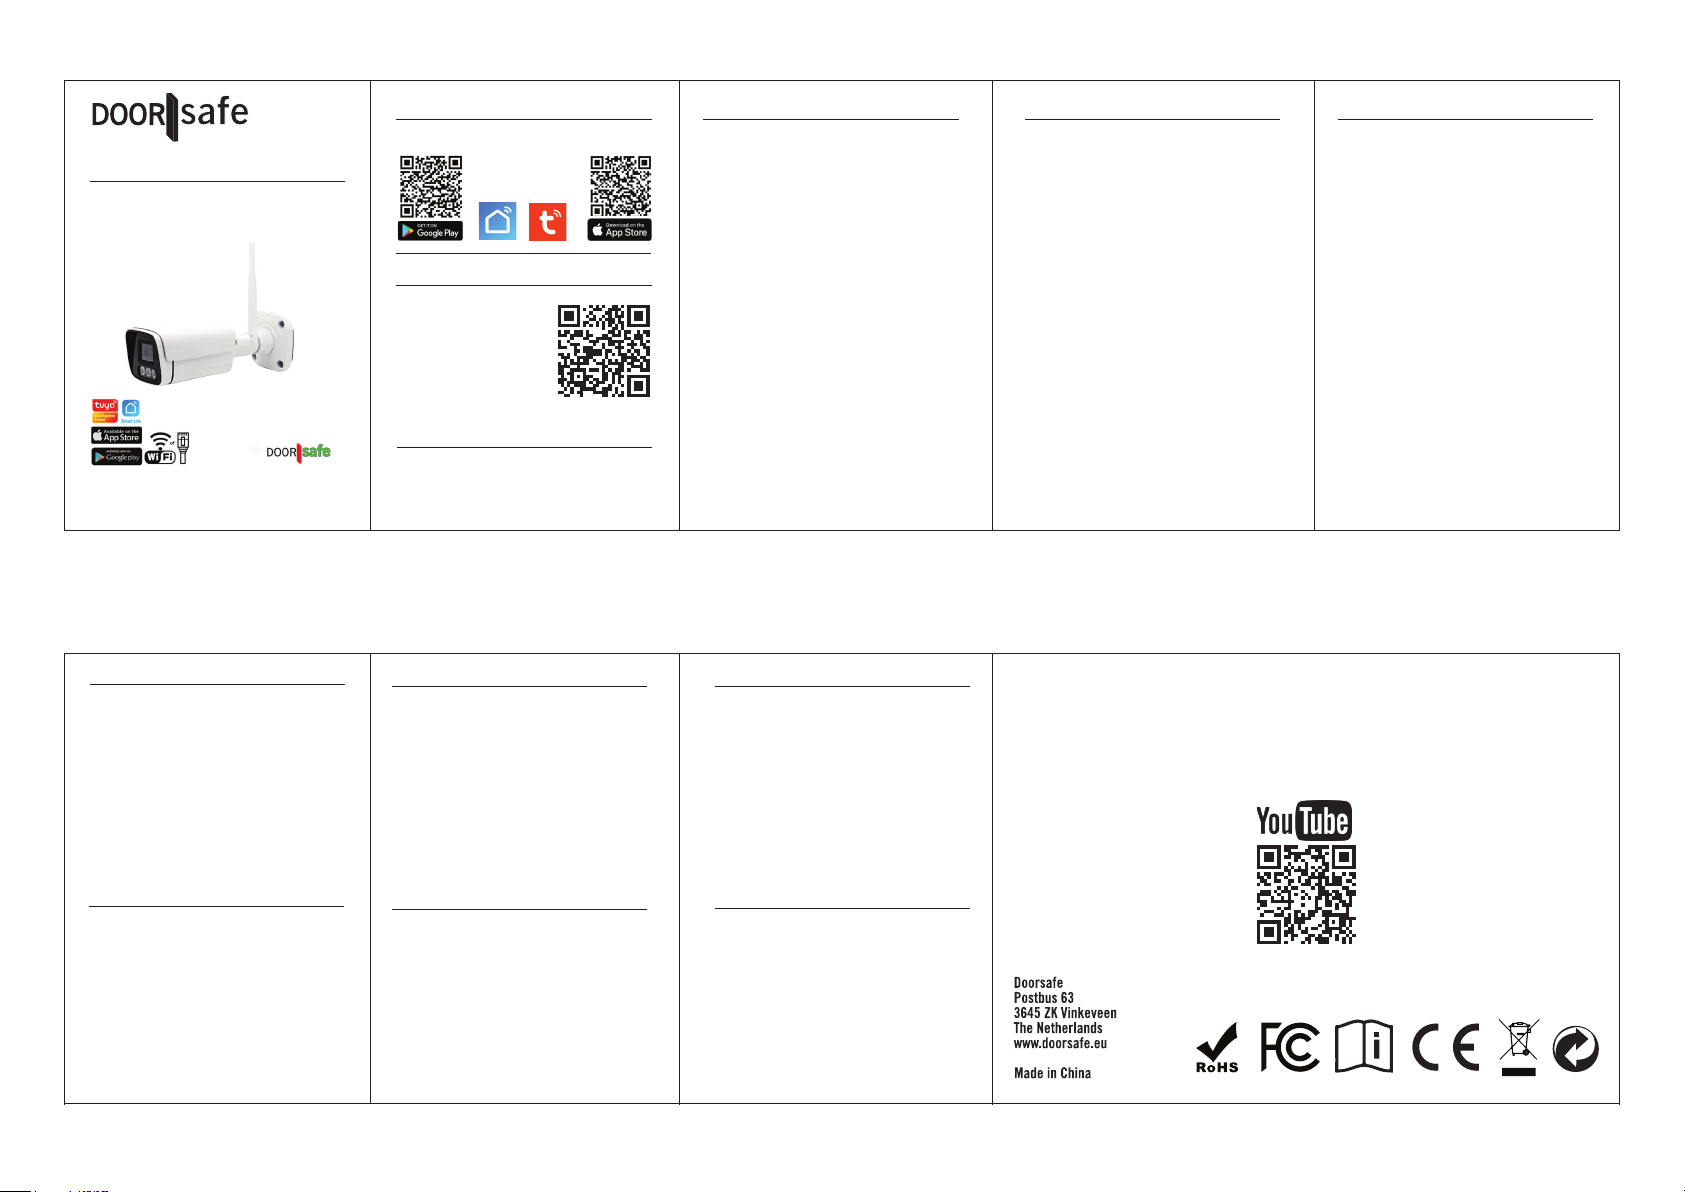
ENG
DS3123 Security camera
Smart Life
or
Tuya Smart
(=same app)
APP DOWNLOAD
→ Download the app:
CONNECT WITH WIFI
→ Connect power to camera
→ Camera now says: ‘wait for connection’
→ Let smartphone connect to own 2.4 or 5GHz.
WiFi network
→ Choose in the app:
‘Add Device’ or ‘+’ and ‘Add Device’
→ The camera will appear at the top of the app
→ If not, choose ‘Camera & Lock’ &
“Smart Camera (2.4Ghz&5Ghz)”
→ At the top right should be ‘QR Code for
Camera’
→ Press ‘Next’ 3 times
→ Enter your own Wi-Fi password
→ Have the camera scan the QR code by
pointing the camera at the QR code
→ Wait for camera to say:
‘Accept succes, please wait’
→ Press: I heard Prompt
→ Camera says: ‘Camera online’
→ Change the name if necessary
& press ‘Done’
→ If necessary, insert an SD card into the cam-
era by unscrewing the 2 screws at the bottom of
the camera. (max. 128Gb)
CONNECT WITH NETWORK CABLE
→ Connect power to camera
→ Camera now says: ‘wait for connection’
→ Let smartphone connect to own 2.4 or 5GHz.
WiFi network
→ Choose in the app:
‘Add Device’ or ‘+’ and ‘Add Device’
→ The camera will appear at the top of the app
→ If not, choose ‘Camera & Lock’
& “Smart Camera (Wi-Fi)”
→ Top right set to ‘Cable’
→ Press ‘Next’ 3 times
→ Camera says: ‘Camera online’
→ Change the name if necessary
& press ‘Done’
→ If necessary, insert an SD card into the cam-
era by unscrewing the 2 screws at the bottom of
the camera. (max. 128Gb)
RESET
→ Remove cap
→ Press the small reset button for 5 seconds
→ Camera beeps
SETTINGS
→ HD / SD - switch between image quality
→ PLAYBACK - view images stored on SD card
back in the app
→ GALLERY - view images stored on the
smartphone
→ THEME COLOR - choose light or dark mode
→ PRIVATE MODE - turn off camera
→ NIGHT MODE - manually switch between
night vision via infrared or white light LEDs
→ ANTI-FLICKER: choose 50 or 60 Hz
→ MOTION DETECTION - let the app give a
push notication when motion is detected
→ SOUND DETECTION - let the app give a
push notication when sound is heard
→ LIGHT - Turn on white light LEDs
→ SIREN - let the camera speaker sound a
siren, volume & duration can be set
→ CLOUD - option: save images to the cloud
→ MESSAGES - view a log
OTHER SETTINGS:
→ Recording settings - non-stop recordings or
only movements, also based on a schedule
→ Motion detection alarm settings - set
sensitivity, human body ltering & activity area/
surveillance area
→ ONVIF - Activate streaming via ONVIF
TOEVOEGEN AAN SCHERM DS6669/DS7796
→ In de app gaan naar de camera instellingen
door 3 puntjes ... te kiezen rechtsboven
→ Kies ONVIF en zet ONVIF Switch aan
→ Op scherm open instellingen
→ Kies: voeg nieuwe apparaten toe
→ Laat scherm zoeken in het netwerk.
Scherm/internet module moet met dezelfde
internet router verbonden zijn.
→ Naast IP adres van camera druk op +
→ Voer in bij: User: admin
Wachtwoord: admin
→ Kies aanmelden
ZUM BILDSCHIRM DS6669/DS7796 HINZUFÜGEN
→ Gehen in App zu den Kameraeinstellun
gen, oben rechts auf 3 Punkte ... klicken
→ Wählen ONVIF & aktivieren Sie ONVIF
→ Öffnen Einstellungen auf Bildschirm
→ Wählen Sie: Neue Geräte hinzufügen
→ Bildschirm im Netzwerk suchen lassen.
Bildschirm/internet modul muss daher mit
demselben Internetrouter verbunden sein.
→ Drücken Sie neben der IP-Adresse der
Kamera auf +
→ Geben Sie ein: Benutzer: admin
Passwort: admin
→ Wählen Sie Anmelden
ADD TO SCREEN DS6669/DS7796
→ Go to the camera settings in the app by
choosing 3 dots ... at the top right
→ Choose ONVIF and enable ONVIF Switch
→ On screen open settings
→ Select: Add new devices
→ Let screen search in the network.
Screen/internet module must therefore be
connected to the same internet router.
→ Next to IP address of camera press +
→ Enter: User: admin
Password: admin
→ Choose LOGIN
VIEWING IMAGES VIA BROWSER
→ Scan this QR code or
go to:
ipc-eu.ismartlife.me
→ Open app, choose
+ and choose:
Scan QR code
CAMERA SETTINGS VIA BROWSER
→ Enter the IP address of camera in the browser
→ Username: admin
Password: 123456
TECHNISCHE SPECIFICATIES
→ Lens: 4MP, 3.6mm, 1/3” CMOS Kleursensor
→ Kijkhoek: 100° - 3 x IR CUT LEDs 20m
→ Internet: 2.4 & 5 Ghz WiFi (802.11 b/g/n) of
RJ45 netwerkkabel
→ Video compressie: H.265
→ Audio compressie: G.711
→ Voeding: DC12V/1A; Verbuik: 10W
→ Behuizing: metaal legering; IP65
→ Bedrijfstemperatuur: -10°C + 50°C
→ ONVIF ondersteund
TECHNICAL SPECIFICATIONS
→ Lens: 4MP, 3.6mm, 1/3” CMOS Colorsensor
→ Viewing angle: 100°- 3 x IR CUT LEDs 20m
→ Internet: 2.4 & 5 Ghz WiFi (802.11 b/g/n) or
RJ45 network cable
→ Video compression: H.265
→ Audio compression: G.711
→ Power: DC12V/1A; Consumption: 10W
→ Casing: Metal alloy; IP65
→ Operating temperature: -10°C + 50°C
→ ONVIF supported
TECHNISCHE SPEZIFIKATIONEN
→ Objektiv: 4 MP, 3,6 mm, 1/3 Zoll
CMOS-Farbsensor - 3 x IR CUT LEDs 20m
→ Betrachtungswinkel: 100°
→ Internet: 2,4 & 5 GHz WLAN (802.11 b/g/n)
oder RJ45-Netzwerkkabel
→ Videokomprimierung: H.265
→ Audiokomprimierung: G.711
→ Stromversorgung: DC12V/1A;
Verbrauch: 10 W
→ Gehäuse: Metalllegierung; IP65
→ Betriebstemperatur: -10°C + 50°C
→ ONVIF-Unterstützung
WWW.DOORSAFE.EU
250724
TUTORIALS:
WWW.YOUTUBE.COM/DOORSAFE


Diskutieren Sie über dieses Produkt mit
Hier können Sie uns Ihre Meinung zu Doorsafe DS3123 Überwachungskamera mitteilen. Wenn Sie eine Frage haben, lesen Sie zunächst das Bedienungsanleitung sorgfältig durch. Die Anforderung eines Bedienungsanleitung kann über unser Kontaktformular erfolgen.