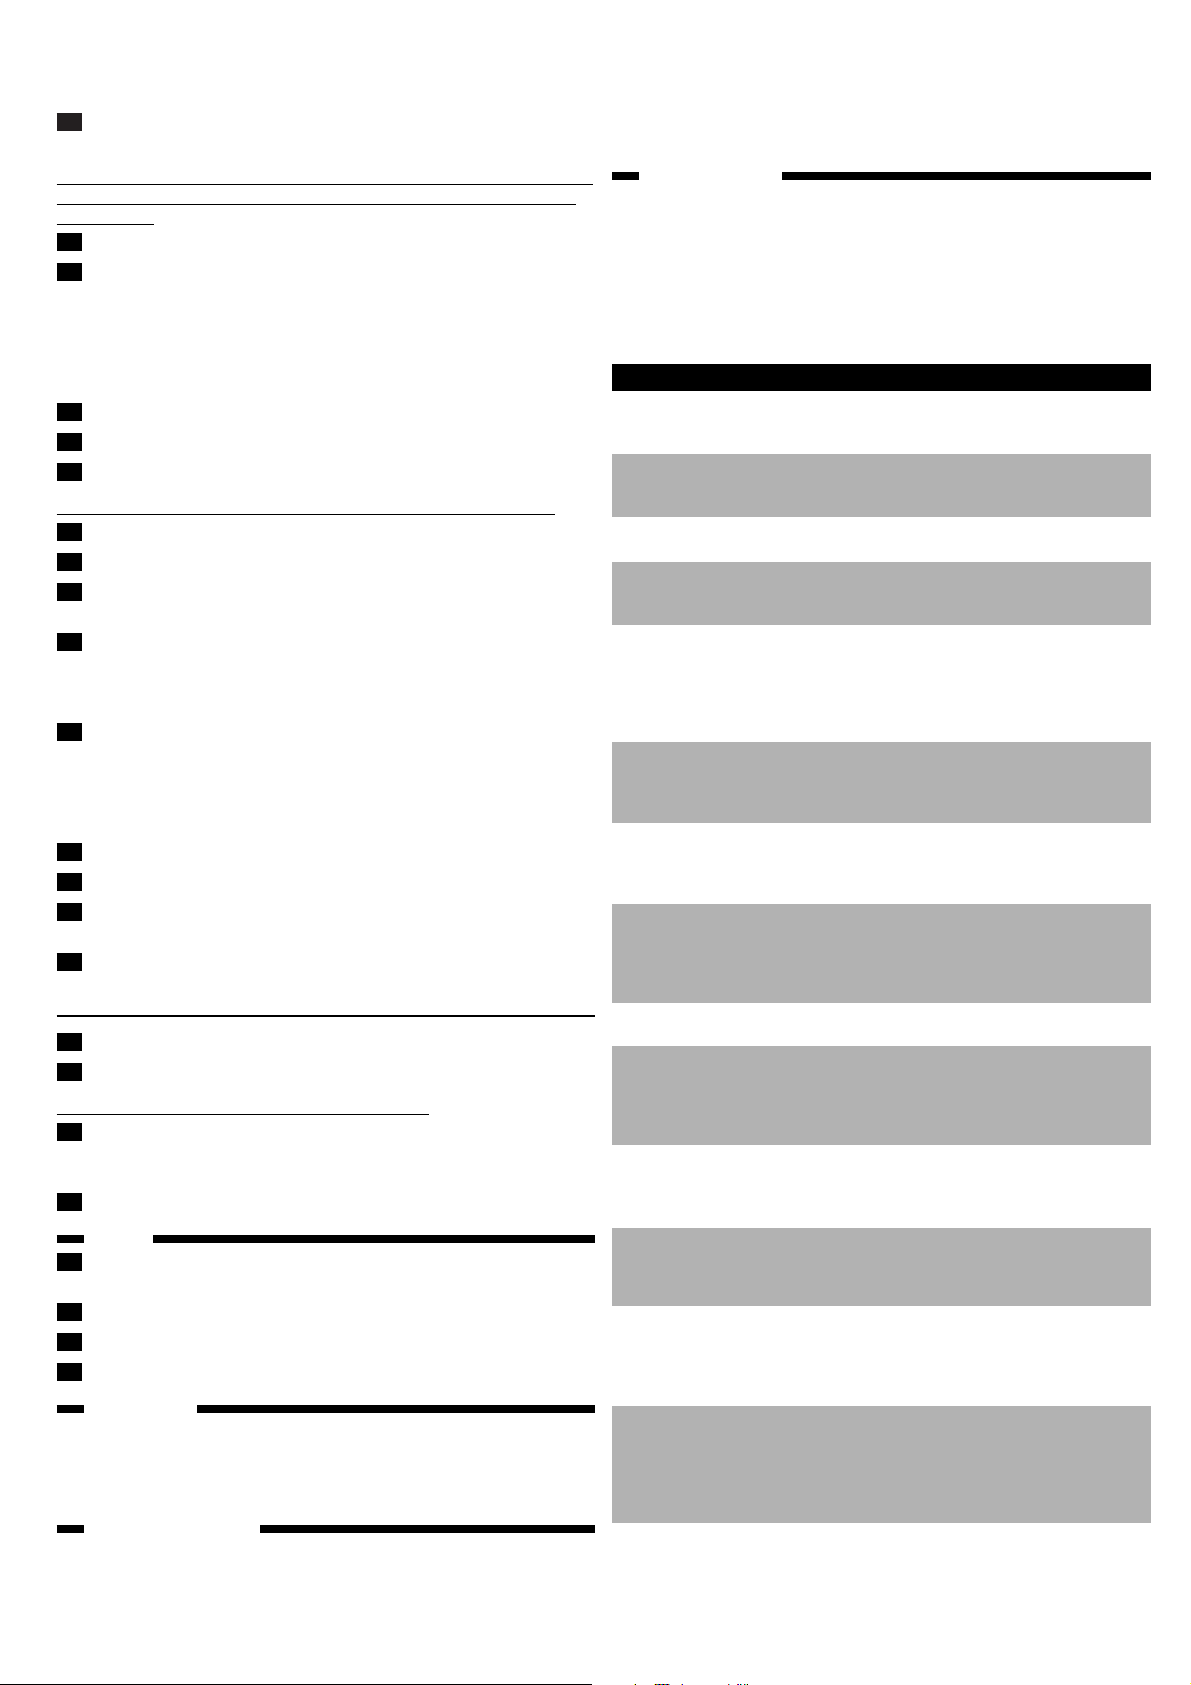
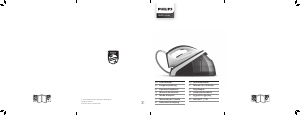
Bedienungsanleitung Philips GC1010 Bügeleisen
Benötigen Sie ein Bedienungsanleitung für Ihren Philips GC1010 Bügeleisen? Unten können Sie das PDF-Bedienungsanleitung kostenlos auf Deutsch ansehen und herunterladen. Für dieses Produkt gibt es derzeit 5 häufig gestellte Fragen, 1 Kommentar und 0 Stimmen. Wenn dies nicht das von Ihnen gewünschte Bedienungsanleitung ist, kontaktieren Sie uns bitte.
Ist Ihr Produkt defekt und bietet die Bedienungsanleitung keine Lösung? Gehen Sie zu einem Repair Café, wo es gratis repariert wird.
Bedienungsanleitung
Loading…

Loading…
Bewertung
Teilen Sie uns mit, was Sie über die Philips GC1010 Bügeleisen denken, indem Sie eine Produktbewertung verfassen. Möchten Sie Ihre Erfahrungen mit diesem Produkt teilen oder eine Frage stellen? Hinterlassen Sie einen Kommentar am Ende dieser Seite!Mehr zu diesem Bedienungsanleitung
Wir verstehen, dass es schön ist, ein gedrucktes Bedienungsanleitung für Ihr Philips GC1010 Bügeleisen zu haben. Sie können das Bedienungsanleitung jederzeit von unserer Website herunterladen und selbst ausdrucken. Wenn Sie ein Originalhandbuch wünschen, empfehlen wir Ihnen, Philips zu kontaktieren. Möglicherweise können sie ein Originalhandbuch bereitstellen. Suchen Sie das Bedienungsanleitung Ihres Philips GC1010 Bügeleisen in einer anderen Sprache? Wählen Sie auf unserer Homepage Ihre bevorzugte Sprache und suchen Sie nach der Modellnummer, um zu sehen, ob wir sie verfügbar haben.
Spezifikationen
| Marke | Philips |
| Modell | GC1010 |
| Kategorie | Bügeleisen |
| Dateityp | |
| Dateigröße | 0.33 MB |
Alle Anleitungen für Philips Bügeleisen
Weitere Anleitungen von Bügeleisen
Häufig gestellte Fragen zu Philips GC1010 Bügeleisen
Unser Support-Team sucht nach nützlichen Produktinformationen und beantwortet Ihre häufig gestellten Fragen. Sollte Ihnen ein Fehler bei den häufig gestellten Fragen auffallen, teilen Sie uns dies bitte anhand unseres Kontaktformulars mit.
Kann ich die Unterseite meines Bügeleisens mit einem Scheuerlappen reinigen? Verifiziert
Nein, dies könnte die Unterseite beschädigen. Verwenden Sie ein feuchtes Tuch oder einen weichen Schwamm zur Reinigung.
Das war hilfreich (420) Mehr lesenWorin besteht der Unterschied zwischen einem Dampfbügeleisen und einem herkömmlichen Bügeleisen? Verifiziert
Der größte Vorteil eines Dampfbügeleisens ist, dass es Falten durch die Verwendung von Dampf leichter beseitigt. Ein reguläres Bügeleisen ist hingegen viel leichter und oft billiger.
Das war hilfreich (343) Mehr lesenDie Sohle meines Bügeleisens ist verfärbt. Kann ich noch damit bügeln? Verifiziert
Ja, aber es könnte sein, dass das Bügeleisen auf helle Kleidungsstücke abfärbt.
Das war hilfreich (285) Mehr lesenKann ich über Knöpfe bügeln? Verifiziert
Nein, dies beschädigt die Bügeleisensohle, wodurch das Bügeleisen nicht mehr richtig funktioniert. Bügeln Sie niemals über Knöpfe, Reißverschlüsse oder andere harte Objekte.
Das war hilfreich (233) Mehr lesenDer Boden von meinem Philips-Bügeleisen hat ein paar Kratzer, kann ich es immer noch verwenden? Verifiziert
Ja, das ist kein Problem. Der Boden besteht aus mehreren Lagen, dadurch stellen kleinere Kratzer kein Problem dar. Das Bügeleisen sollte immer noch ordnungsgemäß funktionieren.
Das war hilfreich (65) Mehr lesen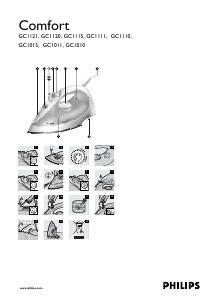


Diskutieren Sie über dieses Produkt mit
Hier können Sie uns Ihre Meinung zu Philips GC1010 Bügeleisen mitteilen. Wenn Sie eine Frage haben, lesen Sie zunächst das Bedienungsanleitung sorgfältig durch. Die Anforderung eines Bedienungsanleitung kann über unser Kontaktformular erfolgen.
Antworten | Das war hilfreich (0) (Übersetzt von Google)